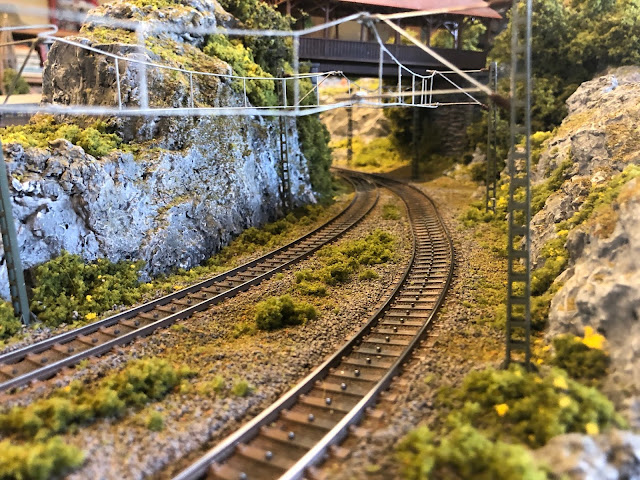
The pictures posted here hopefully will show the progression of techniques already discussed.
This blue / pink foam combo began with 4 layers of 2" insulation foam. ( The pink foam was from Home Depot, but they stopped carrying it in store, but Lowes carried the same material in guess what color? ) ;-)
I have no earthly idea how many glue sticks I have use on this layout ! Carved the foam with my trusty hot sculpting iron previously described. In the last section I noted that all terrain features, be it trees, mountain contours, even placement of figures...should all have a purpose...that is to guide the viewer's eye....
Below note that the "notch" on the close side of this formation slopes up....toward the Kirche Platz, ( the church ) and the large mountain on the mural !
Forming a walkway from the last bridge down the formation to the Kirche Platz.
Below ....toward the tunnel and Kirche Platz...
Note that the entry to the tunnel is lined with Noch wall material, but the tunnel is large enough to allow the viewer to see through the tunnel. Now a series of pix with the orthopedic gauze coverings.
And now...some of the results.
Note the walkway leading the eye to the Kirche Platz, as well as the helix w waterfall, and the large mountain in the mural ....
Here we can see the stair case at 9:00 from the city, the path from the staircase to the Chapel, and then the pathway to the pedestrian bridge and then arching back to the Kirche Platz.
The upward slope of this mountain pulls the viewer's eyes.....
Now it all fits together....
Interesting how just a "dash" of color seems to create a serene ambience.......it is only a little "coarse turf" from WS.
Thanks for joining me on this little journey ....hope you enjoyed it.....Blessings ....alan


No comments :
Post a Comment