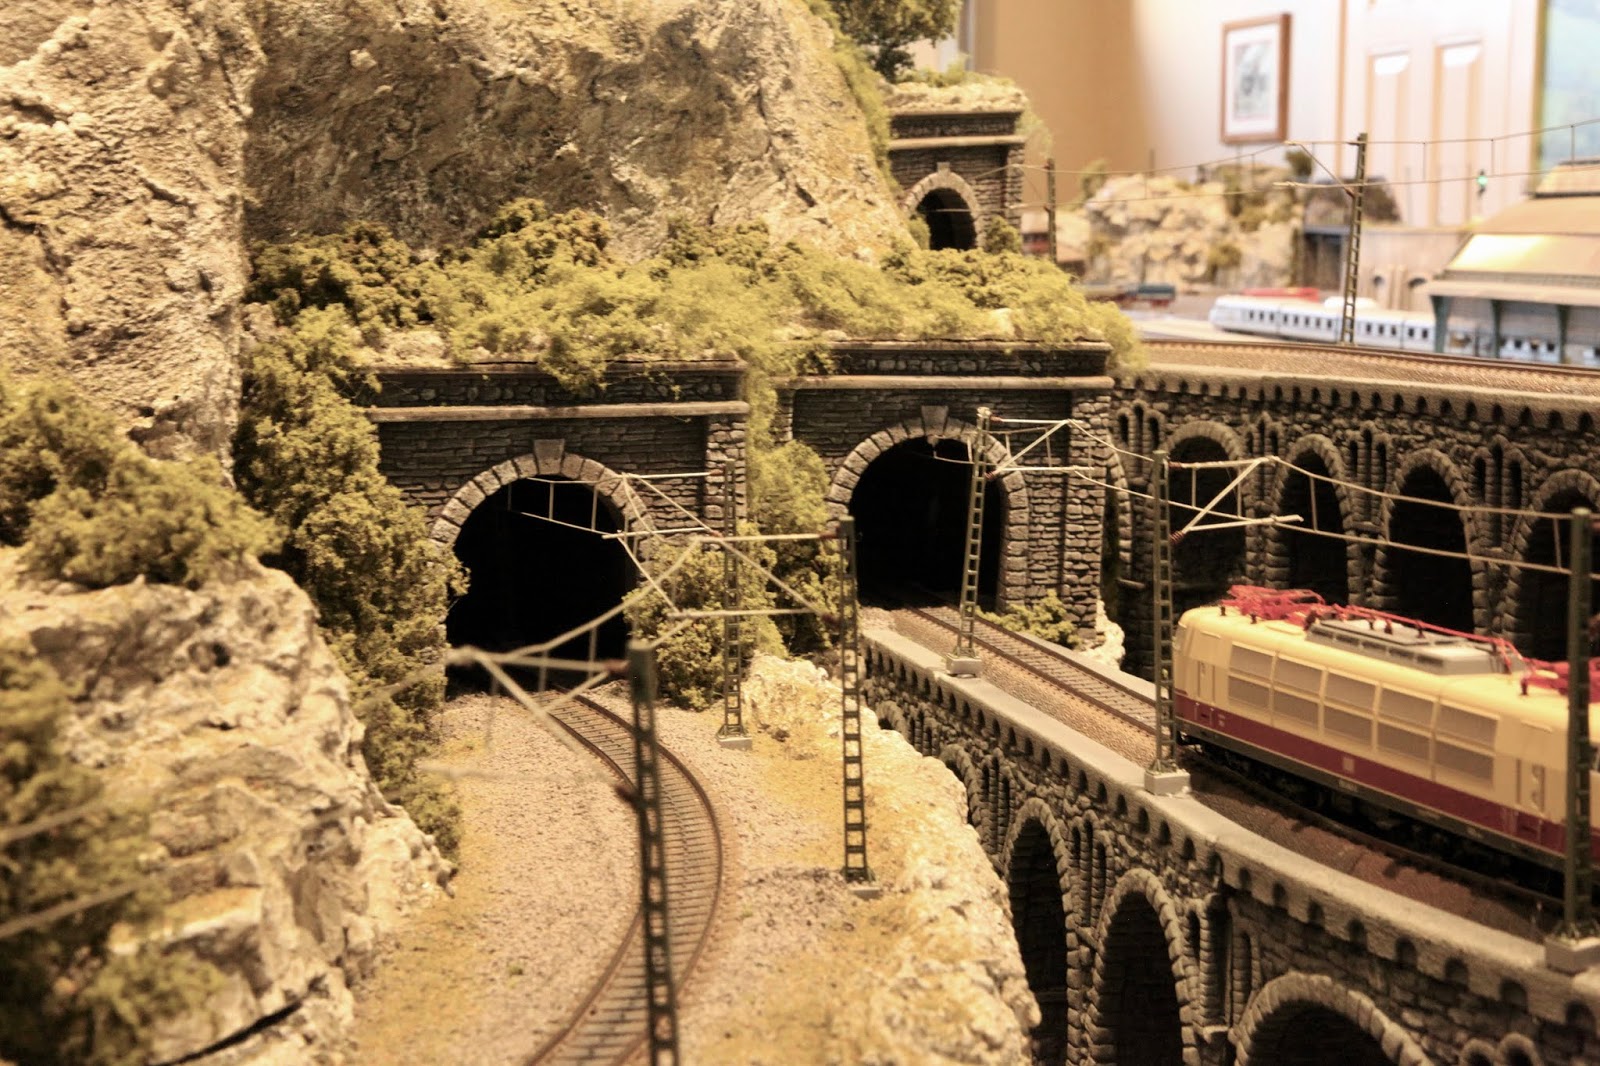
The cliff area is comprised mostly of Sculptomold ( SCM) and smaller rock casting along the face. The two ledges near the bottom of the cliff are horizontal hot glued cardboard pieces covered with Sculptomold. The stream bed is "leak proof" with plaster gauze covering pink foam board, and then SCM used to build the landscape including the stream bed.

The Steam bed is colored with a green / blue mixture of pigments ( craft store) and then a little black wash to darken the base. Sorry about the tint of the pic...2700K lighting...

Recall that the season is late spring or early summer. The spring snow melt and "run off" are over and now there is only a minimal gradual snow melt coming from the mountain, so one would not expect heavy water falls this time of year, only a gentle "bathing" of the cliff face with gentle, transparent sheets of soft and slow flowing water. Further the color of the water during "run off" is more turquoise, but now it is more greenish blue.
Below are the "holding pools" just beneath the melting snow pack.
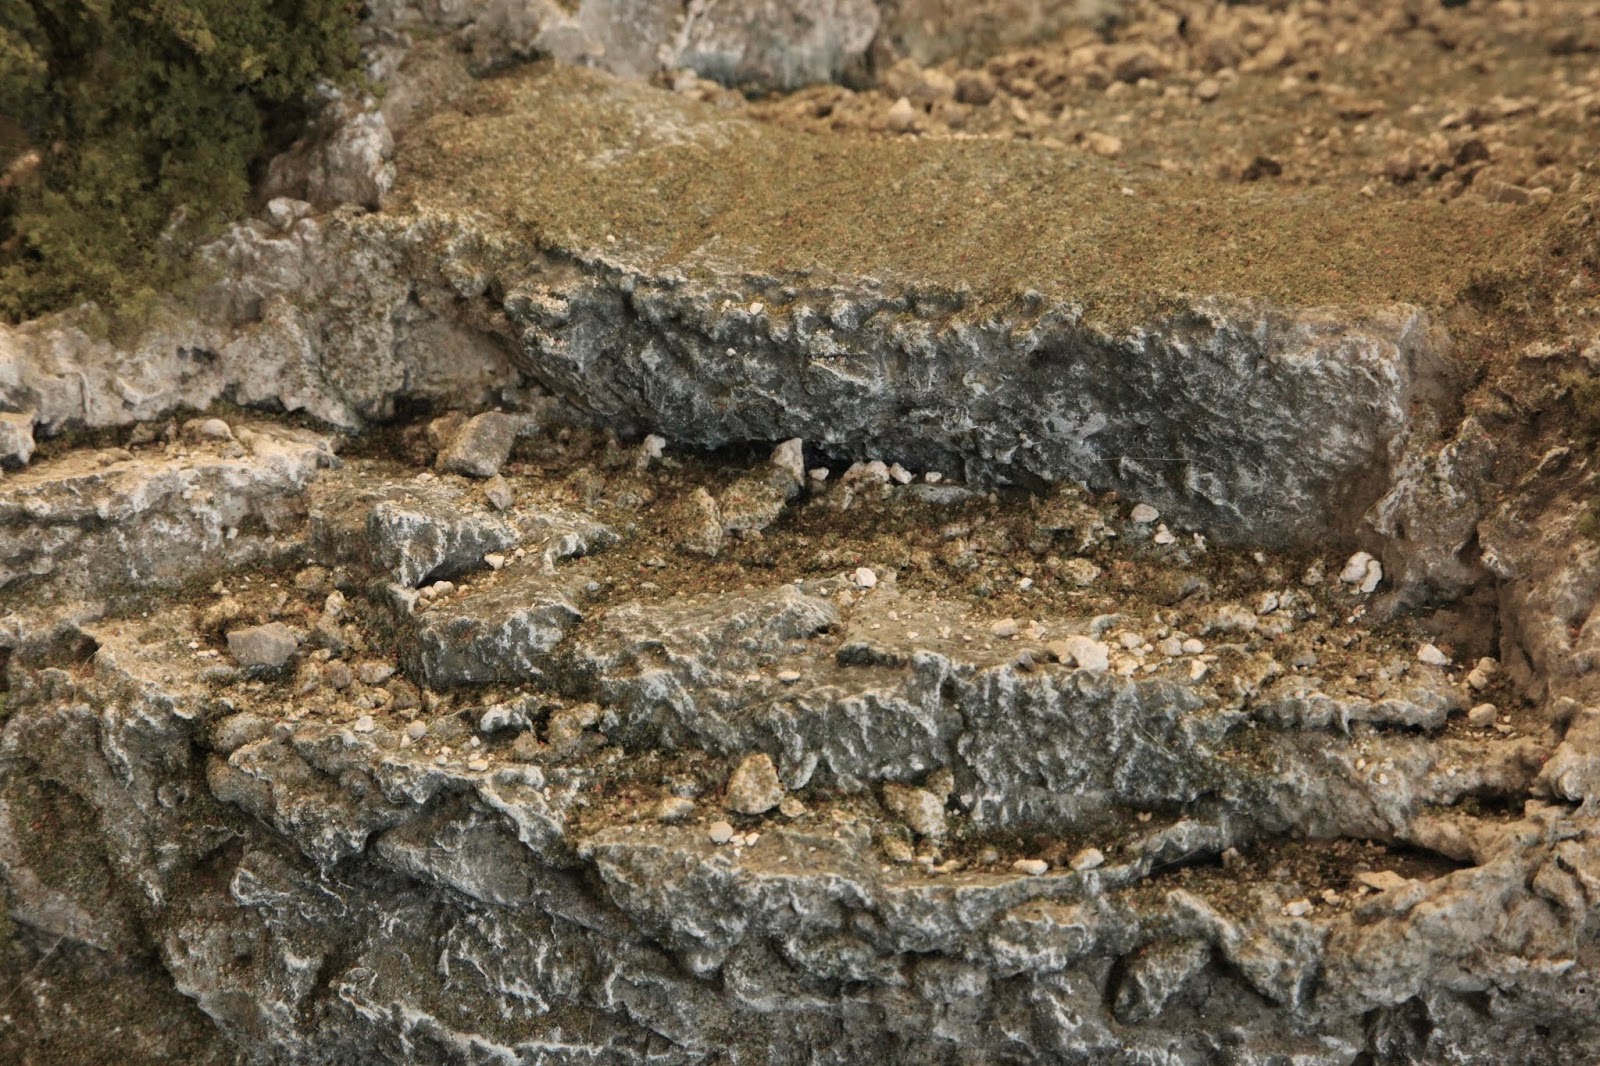
Note now that there are numerous small rocks sand which have washed into the outflow from the melting snow and from the spring run off.

Lower pool. The water from the upper pool softly flows over the slight rocky drop off into the lower pool, coating the rock face with a sheen of slowly flowing water. Again note the abundant small rocks. ( the rocks, and sand like debris were made from old rock castings which were placed in an old towel and beaten to smithereens with a hammer....then dyed with gray pigment ....don't forget to save "everything"..even the smallest bit if debris)

Upper pool.

Top of cliff face with two "drops" above the cliff.
Now pouring Woodland Scenics Realistic Water. Drizzled down the face of the cliff into the base stream bed, starting to cover some of the stream bed rocks.

Lower part of steam ....

Note the "sheerness"--almost translucent ....nature of the sheets of gently flowing water. Achieved with WS "Water Effects" paste,-- placed in strips of varying width and length on a glass pane and then " messaged" laterally and length wise to create a very thin, almost transparent sheet of water. Best to allow the material to dry a lot longer than recommended ( 24 hrs) ..but better after 72 hrs. Dry brush with a light coating of white acrylic and "glue" in place with the Water Effects.

Interesting affect....illusion of very soft and minimal water falls.

Another view.

Lower stream. Note the more turbulent water around the boulder. Created with Water Effects and brushed / dabbed gently on the surface, then white dry brushed. Cute little "eddy line" downstream from the boulder.....

End result.... quite a challenge but worth all the time invested. Added lots of greenery to soften the scene....always lots of bushes growing next to water source and smaller trees as well.

Thank you for viewing. ....blessings...