
I just completed three stages of Landscaping and thought I would share a few photos and discuss some of the techniques. I have actually used 4 slightly different techniques to scenic the rock work on the layout, all seemingly blending into each other.....fun to experiment !
Let's look at the first project:
In our first stage we needed to create an initial path from the city up to the path already created to the chapel shown on previous slides.
Below: The foreground area at 6:00 is the area of interest for this initial discussion. We can see the "pedestrian" bridge crossing multiple tracks ( kit bashed from two kits ) to the other terrain feature at 1:00 and one of the stair sections which came with the kit at 4:00 providing entry from the city to this upper level.
We'll examine the area across the tracks at 1-2:00 with the next session. The area of "pink" foam board is the tunnel formation, and the large mass of layered blue foam at 10:00 will be in our third session.

I hope you are laughing with me with the use of scrap foam below to build the base for this formation. I carved some of the foam with a small rod foam cutter :
( https://www.amazon.com/gp/product/B07BHDLC76/ref=ppx_yo_dt_b_asin_title_o04_s00?ie=UTF8&psc=1)
Actually a pretty nifty little foam cutter. Foam formation below looks really rough, no? '-)
Also below, we can see the Kirche Platz and the path to the Chapel mentioned earlier.

Carved out the ramp across the tracks to the upper bridge with the foam cutter...saved a lot of rasping, carving and vacuuming......

Covered the foam base with orthopedic gauze ( commercial available in bulk ) and Sculptomold ...love to work with that material. Used multiple rock mold castings as well. We can see the re-located stairs a 9:00 near one of the city bulidings. Now for the staining and landscaping.

To connect the stairs to the pathway, I had to scratch build a walkway. Used a thickish piece of cardboard, painted it, and covered it with Noch wood planking. Added railings...

We now can note how the stairs connect with the path which veers to the left to reach the Chapel, and to the right to reach the pedestrian bridge. Note the rock molds...multiples !
There are multiple videos demonstrating how to incorporate the rock molds in the scene with the Scupltamold....just us a 1-1 1/4" old brush and "work in" the SC into the joints around the rock molds. ...blends well.
Staining technique:
1) Air brush the unfinished plaster / Sculptomold base with a light gray paint....
2) Dilute yellow ochre, burnt umber and raw sienna as accent stains.
3) Multiple very dilute black washes over the entire surface...makes the creases "pop" out !
4) Dry brush with white acrylic in a tube.
5) With a small artist's ( 1/4" )brush, paint on dilute Mod Podge ( about 4:1 ) over the areas where you want to add some very fine greenery --like a lichen or moss growing among the rocks. ...I use a combination of Woodland Scenics fine turfs..( Burnt Grass and Earth Blend mixed in a plastic cup and gently blown onto the wet surface with a small spoon of material and propelled by a puff of breath. )
6) Then I sprinkle on a mixture of WS coarse turfs if a light green and yellowish color. Throw in a little red and yellow coarse turfs --and you have field flowers !
7) I also like to use the WS "Foliage"...a netting material impregnated with a fine green material....nice to cover over junctions of tunnel entrances and where the Sculptomold meets the tunnel mantels.
8) The "tree" material I used is WS "Fine Leaf Foliage".....beautiful material but also very expensive ....I'll bet there are better options out there , but I started using this after watching some videos and decided not to change....conformity within the entire layout.
9) Fix the loose materials in place: first spray with a FINE mist of rubbing alcohol, then with a FINE mist of dilute Mod Podge.
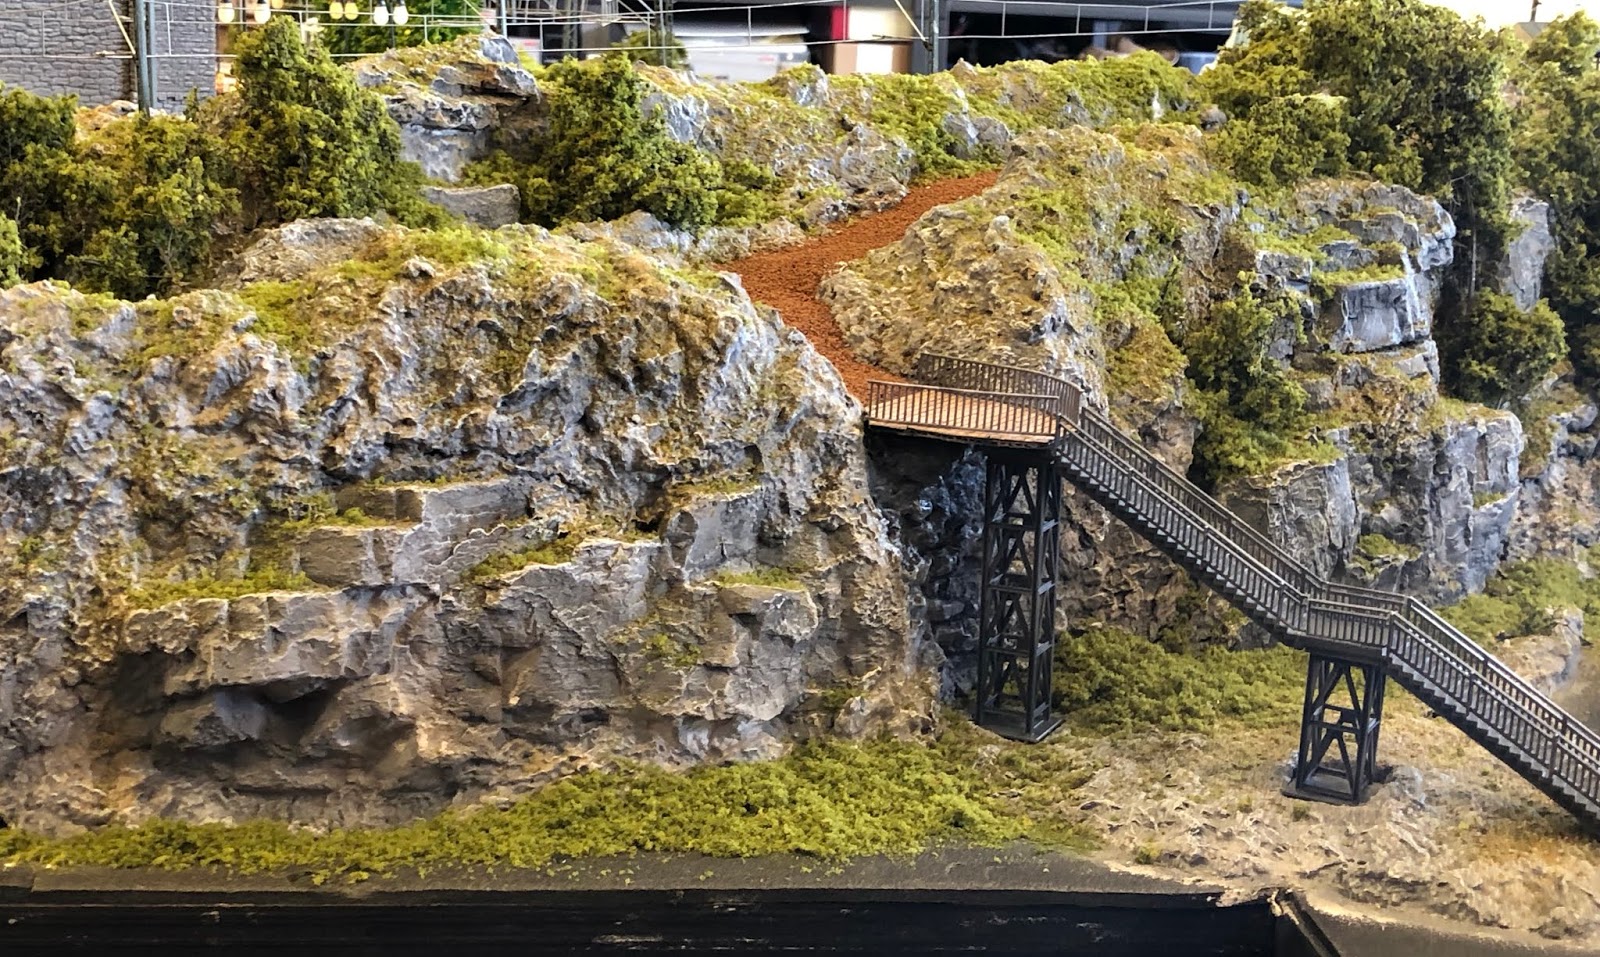
Hikers have now gained access to the fist level on the path to the Kirche Platz...they'll have to cross the pedestrian bridge and then the small wooden bridge seen at 2:00 ...both illuminated, BTW. ( the path base is a fine ballast material)


No comments :
Post a Comment