
Now it's time to build a mountain....during one's lifetime, how many people have the opportunity to build a mountain ??---but here we go !
Let's begin with the helix itself: 2.5 turns from base to top level. 2.3% grade, R-4 & R-5 curved C track. Painted gray because I plan to leave open the side of about 1/4 of the vertical circumference so viewers can see inside the helix for interest. ( the open area will be to the viewer's rt. front. ) Feeder wires populate the track.
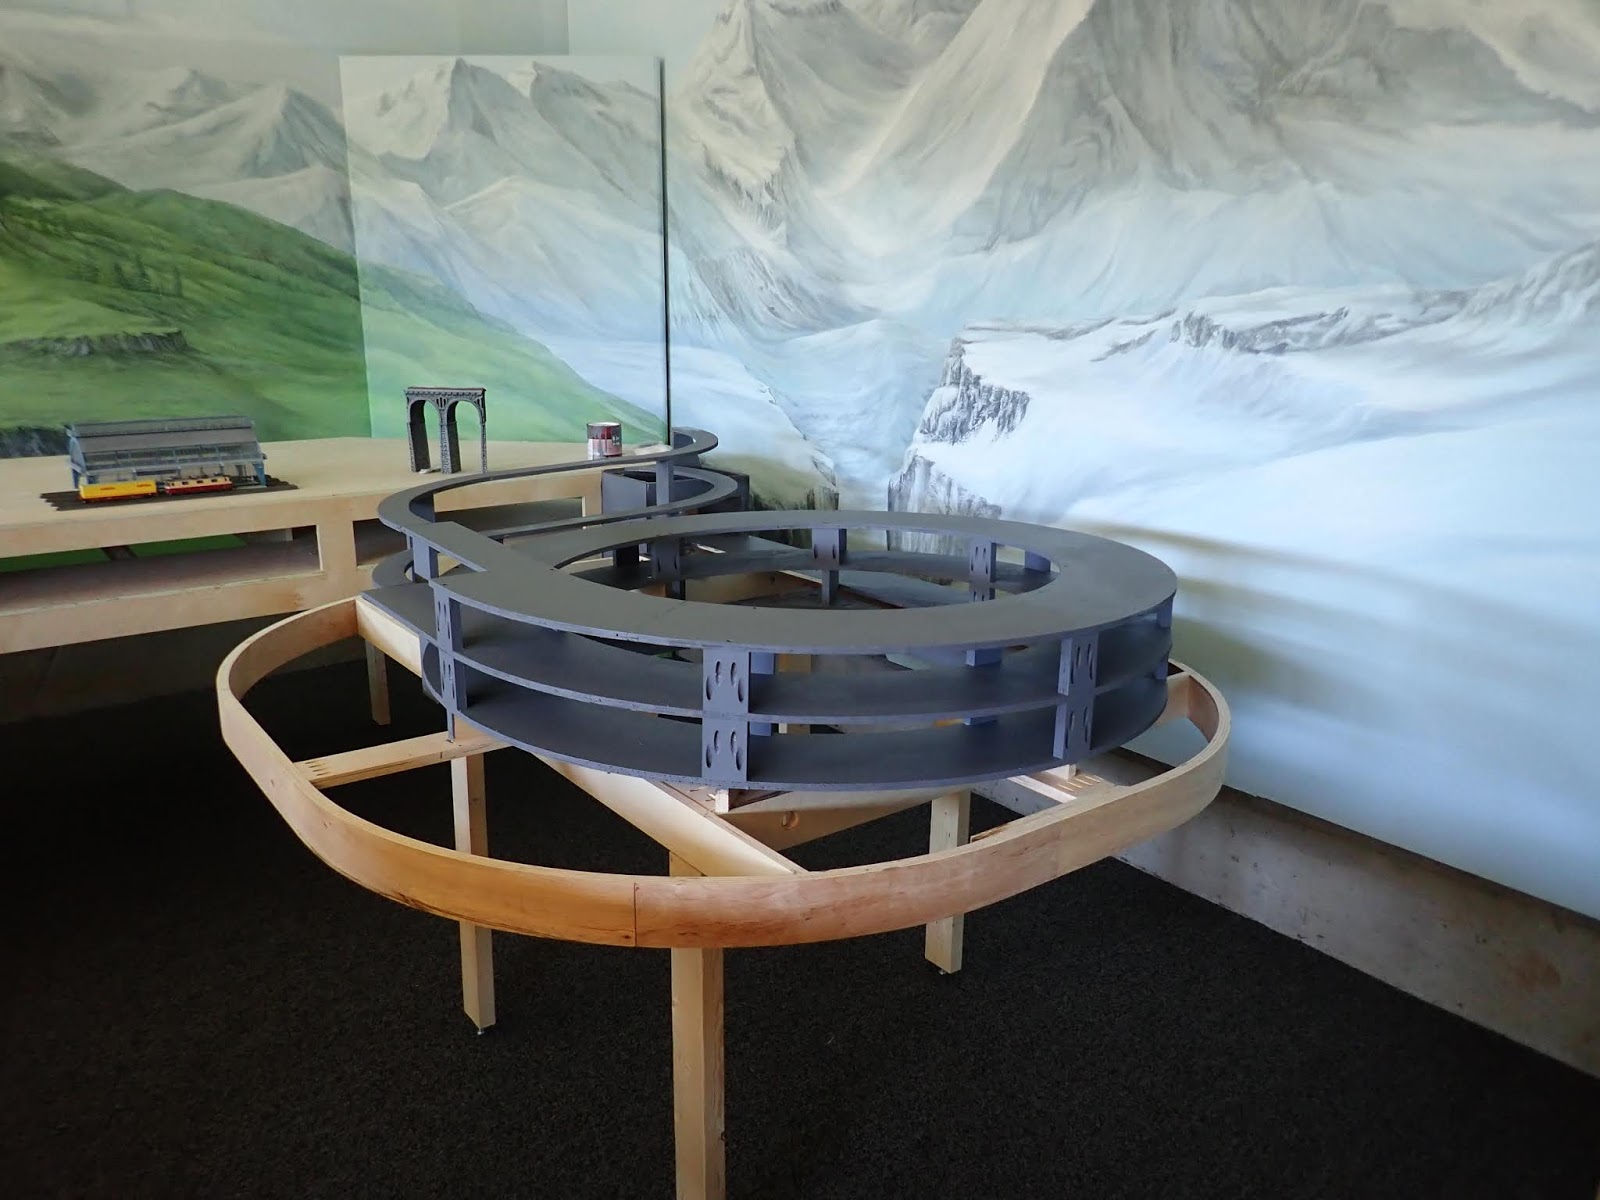
Added 2' foam on the open areas at the base. Started to " screen" in the sides of the helix with nylon screen door material from Home Depot, stapled and trimmed. Built "quarry stone arcade" system with Noch product ( #58269) and "kit bashed" a background wall from old material from previous layout. Ran catenary all the way through the arcade...because folks can see into it ! Track already weathered and ballasted.

Another view.

Front of helix: top track is the ascending track which enters the main part of the layout to the left, about 4" above base grade. Trains run from Rt to Lt. The bottom track ( in front of the Noch wall) is the beginning of the descending track to the staging yards on the left. Note the interior tunnel liner to the Lt.

Building the vertical supports for the mountain terrain. Anchored with screws, and cross braced with 1" X 2" slats. Now comes the real challenge....to arrange the nylon netting to complement the background, such as mountain valleys leading the viewer's eye to through the mountain terrain to the background....done on various aspects of the mountain terrain around the helix.

Netting completed. Hard to see the detail at this point. Note a portion of the helix "open" to view on the rt. side. Stiff cardboard "lid" placed on the Arcade structure and braces with smaller pieces of cardboard.

Orthopedic plaster cast gauze material applied over the netting. Purchased the ortho. material in bulk from an online supply house--actually fairly inexpensive. This forms a shell onto which we can add rock castings and Sculptomold. We can see the detail of the top "ascending" lane and the arcade, as well as the lower level descending lane. The area over the arcade: too flat !

Time for more construction...glue gun, please !

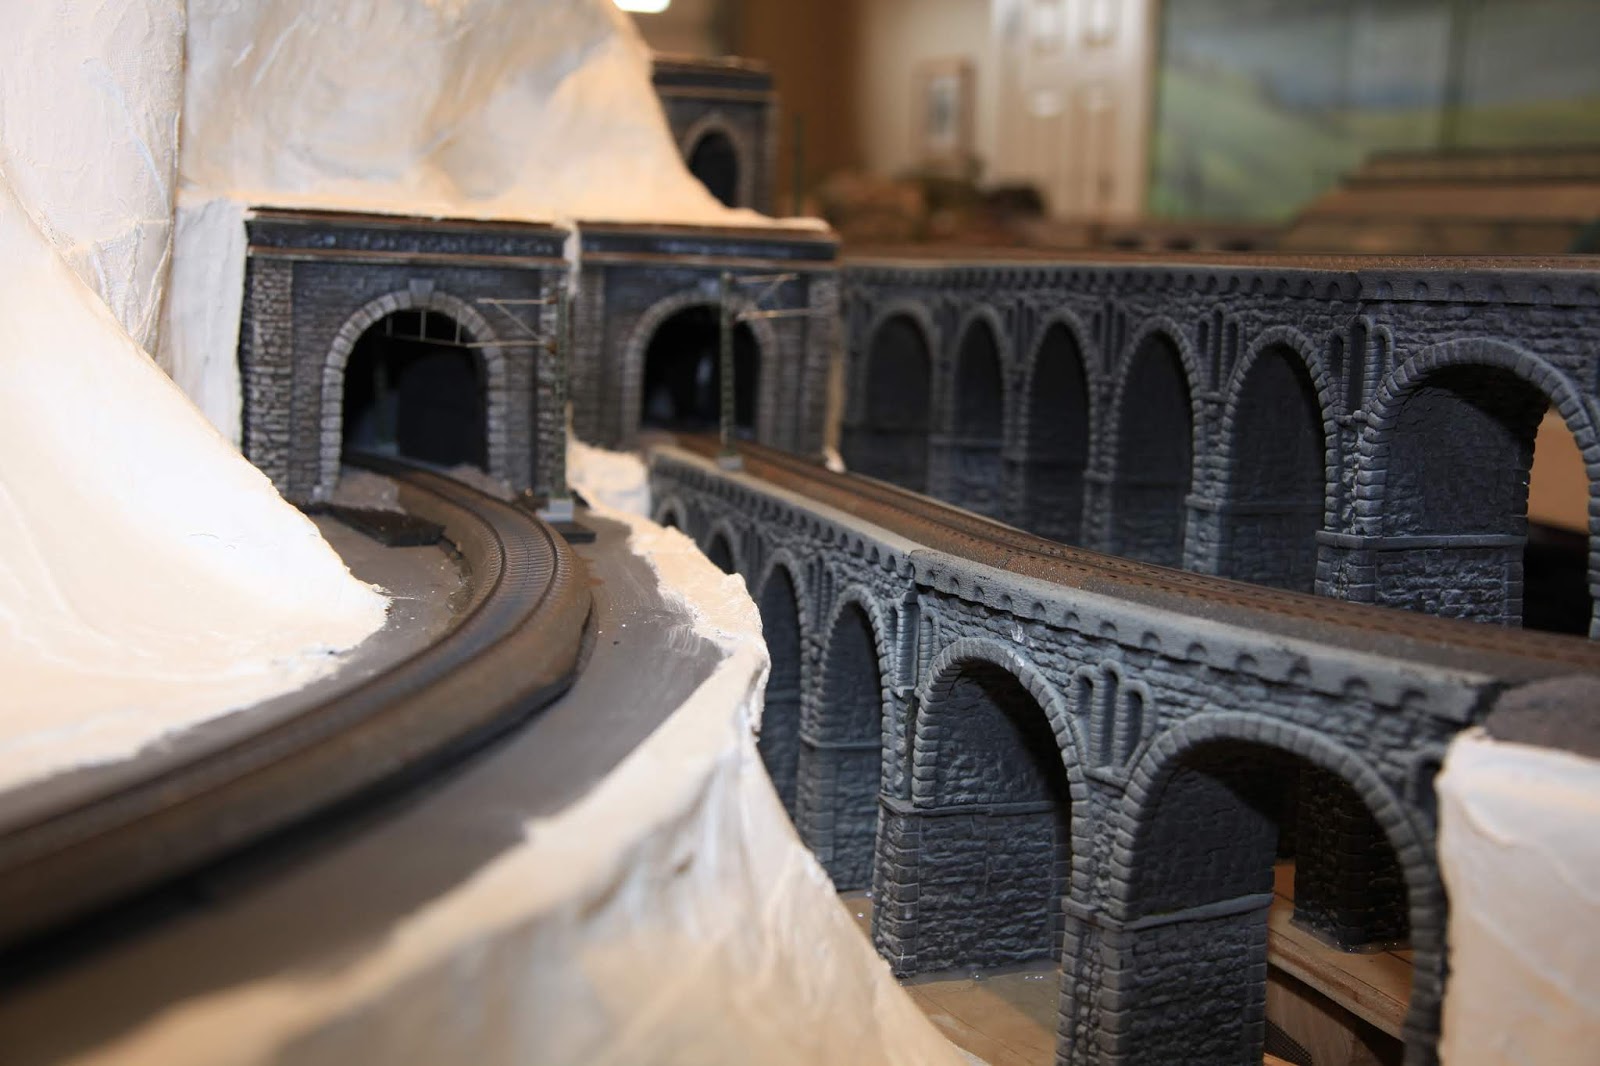
Viaducts ! There are 12 tunnel portals is this helix complex. Should be a lot of fun watching the trains dance in and out of the tunnels as they weave their way around the helix.
Note that the catenary was anchored inside the tunnel portal with appropriate stanchions. Tunnel liners inside portals provide positive impression. ( thanks, Walter and Jan ! ) ;-)
Bring on the Sculptomold !!!! ( and some rock castings ) Aahhh...the area over the arcade looks a lot better now ....Sculptomold also bought in bulk from the big "A" !

Note the valleys leading to the background scenery. Sorry the pix are not too clear in detail-- because color tone extremes from pure white to black !


Viaducts. From Lt to Rt: ascending loop of helix, lower viaduct of descending arm to helix, upper viaduct--ascending arm of the helix to main part of layout.
On the descent....

Ascent to main part of the layout.

Now we wait till the material dries completely...about a week !!! Then I plan to try a different method of staining with Woodland Scenics pigments: Stone Gray, Yellow Ocher, and Black....followed of course by planting dozens of fir trees and topped off with a crest of snow at the peaks....should be fun to create this "mountain-scape".
No comments :
Post a Comment